> ## Documentation Index
> Fetch the complete documentation index at: https://docs.videodb.io/llms.txt
> Use this file to discover all available pages before exploring further.
# Caption Asset
> CaptionAsset synchronizes text to audio timestamps, creating subtitles that move with spoken words. Unlike TextAsset which displays static text overlays, CaptionAsset is built for speech-driven content where timing matters.
## `CaptionAsset` vs `TextAsset`
| Feature | TextAsset | CaptionAsset |
| :------------ | :------------------------- | :----------------------------------------- |
| Timeline Sync | No | Yes (word-level timestamps) |
| Data Source | Manual text input | Auto-generated from speech |
| Animation | Static only | reveal, karaoke, supersize, box\_highlight |
| Format | Font/Border/Shadow objects | ASS (Advanced SubStation Alpha) |
`CaptionAsset` uses ASS format for subtitle rendering, which enables time-synchronized animations and professional subtitle styling.
## Auto-Caption Generation
`CaptionAsset` can automatically generate subtitles from speech in your video. This means you don’t need to manually type out transcripts or time-stamp each word - the system listens to your audio and creates perfectly synchronized captions for you.
### Required: Video Indexing
Before using `src="auto"`, you must index the video for spoken words:
```python Python theme={null}
video.index_spoken_words()
```
```javascript Node.js theme={null}
await video.indexSpokenWords();
```
This is a one-time operation that analyzes your video’s audio track and figures out when each word is spoken.
The indexing creates a timestamp map that tells the caption system exactly when to display each word. Without this indexing step, the auto-caption feature won’t have the timing data it needs to work.
### Basic Usage
```python Python theme={null}
from videodb.editor import CaptionAsset, Clip, Track
caption_clip = Clip(
asset=CaptionAsset(src="auto"),
duration=float(video.length)
)
track = Track()
track.add_clip(0, caption_clip)
```
```javascript Node.js theme={null}
import { CaptionAsset, Clip, Track } from 'videodb';
const captionClip = new Clip({
asset: new CaptionAsset({ src: "auto" }),
duration: parseFloat(video.length)
});
const track = new Track();
track.addClip(0, captionClip);
```
Example:
The caption clip duration should match or exceed the video duration to ensure all words display.
## Animation Types
`CaptionAsset` supports six animation modes that make your subtitles more dynamic:
| Animation | Effect |
| :--------------- | :------------------------------------------------------------- |
| reveal | Words appear one-by-one as they're spoken |
| karaoke | Active word changes color (primary → secondary) while speaking |
| supersize | Active word scales up in size for emphasis |
| box\_highlight | Active word is highlighted with a background box |
| impact | Only the active word appears on the screen |
| color\_highlight | Active word highlights with a distinct color for emphasis |
Code Example
```python Python theme={null}
from videodb.editor import CaptionAnimation
caption_asset = CaptionAsset(
src="auto",
animation=CaptionAnimation.karaoke,
primary_color="&H00FFFFFF", # White
secondary_color="&H0000FFFF" # Yellow highlight
)
```
```javascript Node.js theme={null}
import { CaptionAsset, CaptionAnimation } from 'videodb';
const captionAsset = new CaptionAsset({
src: "auto",
animation: CaptionAnimation.karaoke,
primaryColor: "&H00FFFFFF", // White
secondaryColor: "&H0000FFFF" // Yellow highlight
});
```
Example with `CaptionAnimation.karaoke`
## ASS Color Format
ASS (Advanced SubStation Alpha) is a professional subtitle format that’s been used in video production for years.
It uses BGR (Blue-Green-Red) byte order with an alpha channel - which is backwards from the RGB format you might be used to from web colors.
This quirk exists for historical reasons in subtitle rendering systems.
### Format Structure
`&HAABBGGRR` or `&H00BBGGRR`
* `AA` = Alpha (`00` = opaque, `FF` = transparent)
* `BB` = Blue channel
* `GG` = Green channel
* `RR` = Red channel
### HTML to ASS Conversion
To convert HTML colors to ASS format:
1. HTML `#RRGGBB` → Extract RGB bytes
2. Reverse to BGR order
3. Add prefix `&H00` (opaque) or `&HAA` (with transparency)
Example: HTML `#FF6600` (orange)
* RGB: Red=`FF`, Green=`66`, Blue=`00`
* BGR: `00-66-FF`
* ASS: `&H000066FF`
### Common Colors
| HTML | ASS | Color |
| :-------- | :----------- | :----- |
| `#FFFFFF` | `&H00FFFFFF` | White |
| `#000000` | `&H00000000` | Black |
| `#FF0000` | `&H000000FF` | Red |
| `#FFFF00` | `&H0000FFFF` | Yellow |
| `#00FF00` | `&H0000FF00` | Green |
## Styling Parameters
`CaptionAsset` styling is organized into three parameter groups: `FontStyling`, `Positioning`, and `BorderAndShadow`.
### `FontStyling`
Controls how your subtitle text looks - the font face, size, and whether it's bold or italic. Think of this as the basic typography settings for making your captions readable and on-brand.
```python Python theme={null}
from videodb.editor import FontStyling
FontStyling(
size=36, # Font size in points
bold=True, # Bold weight
italic=False, # Italic style
name="Arial" # Font family
)
```
```javascript Node.js theme={null}
import { FontStyling } from 'videodb';
new FontStyling({
size: 36, // Font size in points
bold: true, // Bold weight
italic: false, // Italic style
name: "Arial" // Font family
});
```
| Parameter | Type | Description |
| :-------- | :--- | :--------------------------------------------- |
| size | int | Font size in points (not pixels) |
| bold | bool | Bold weight (True) or normal (False) |
| italic | bool | Italic style |
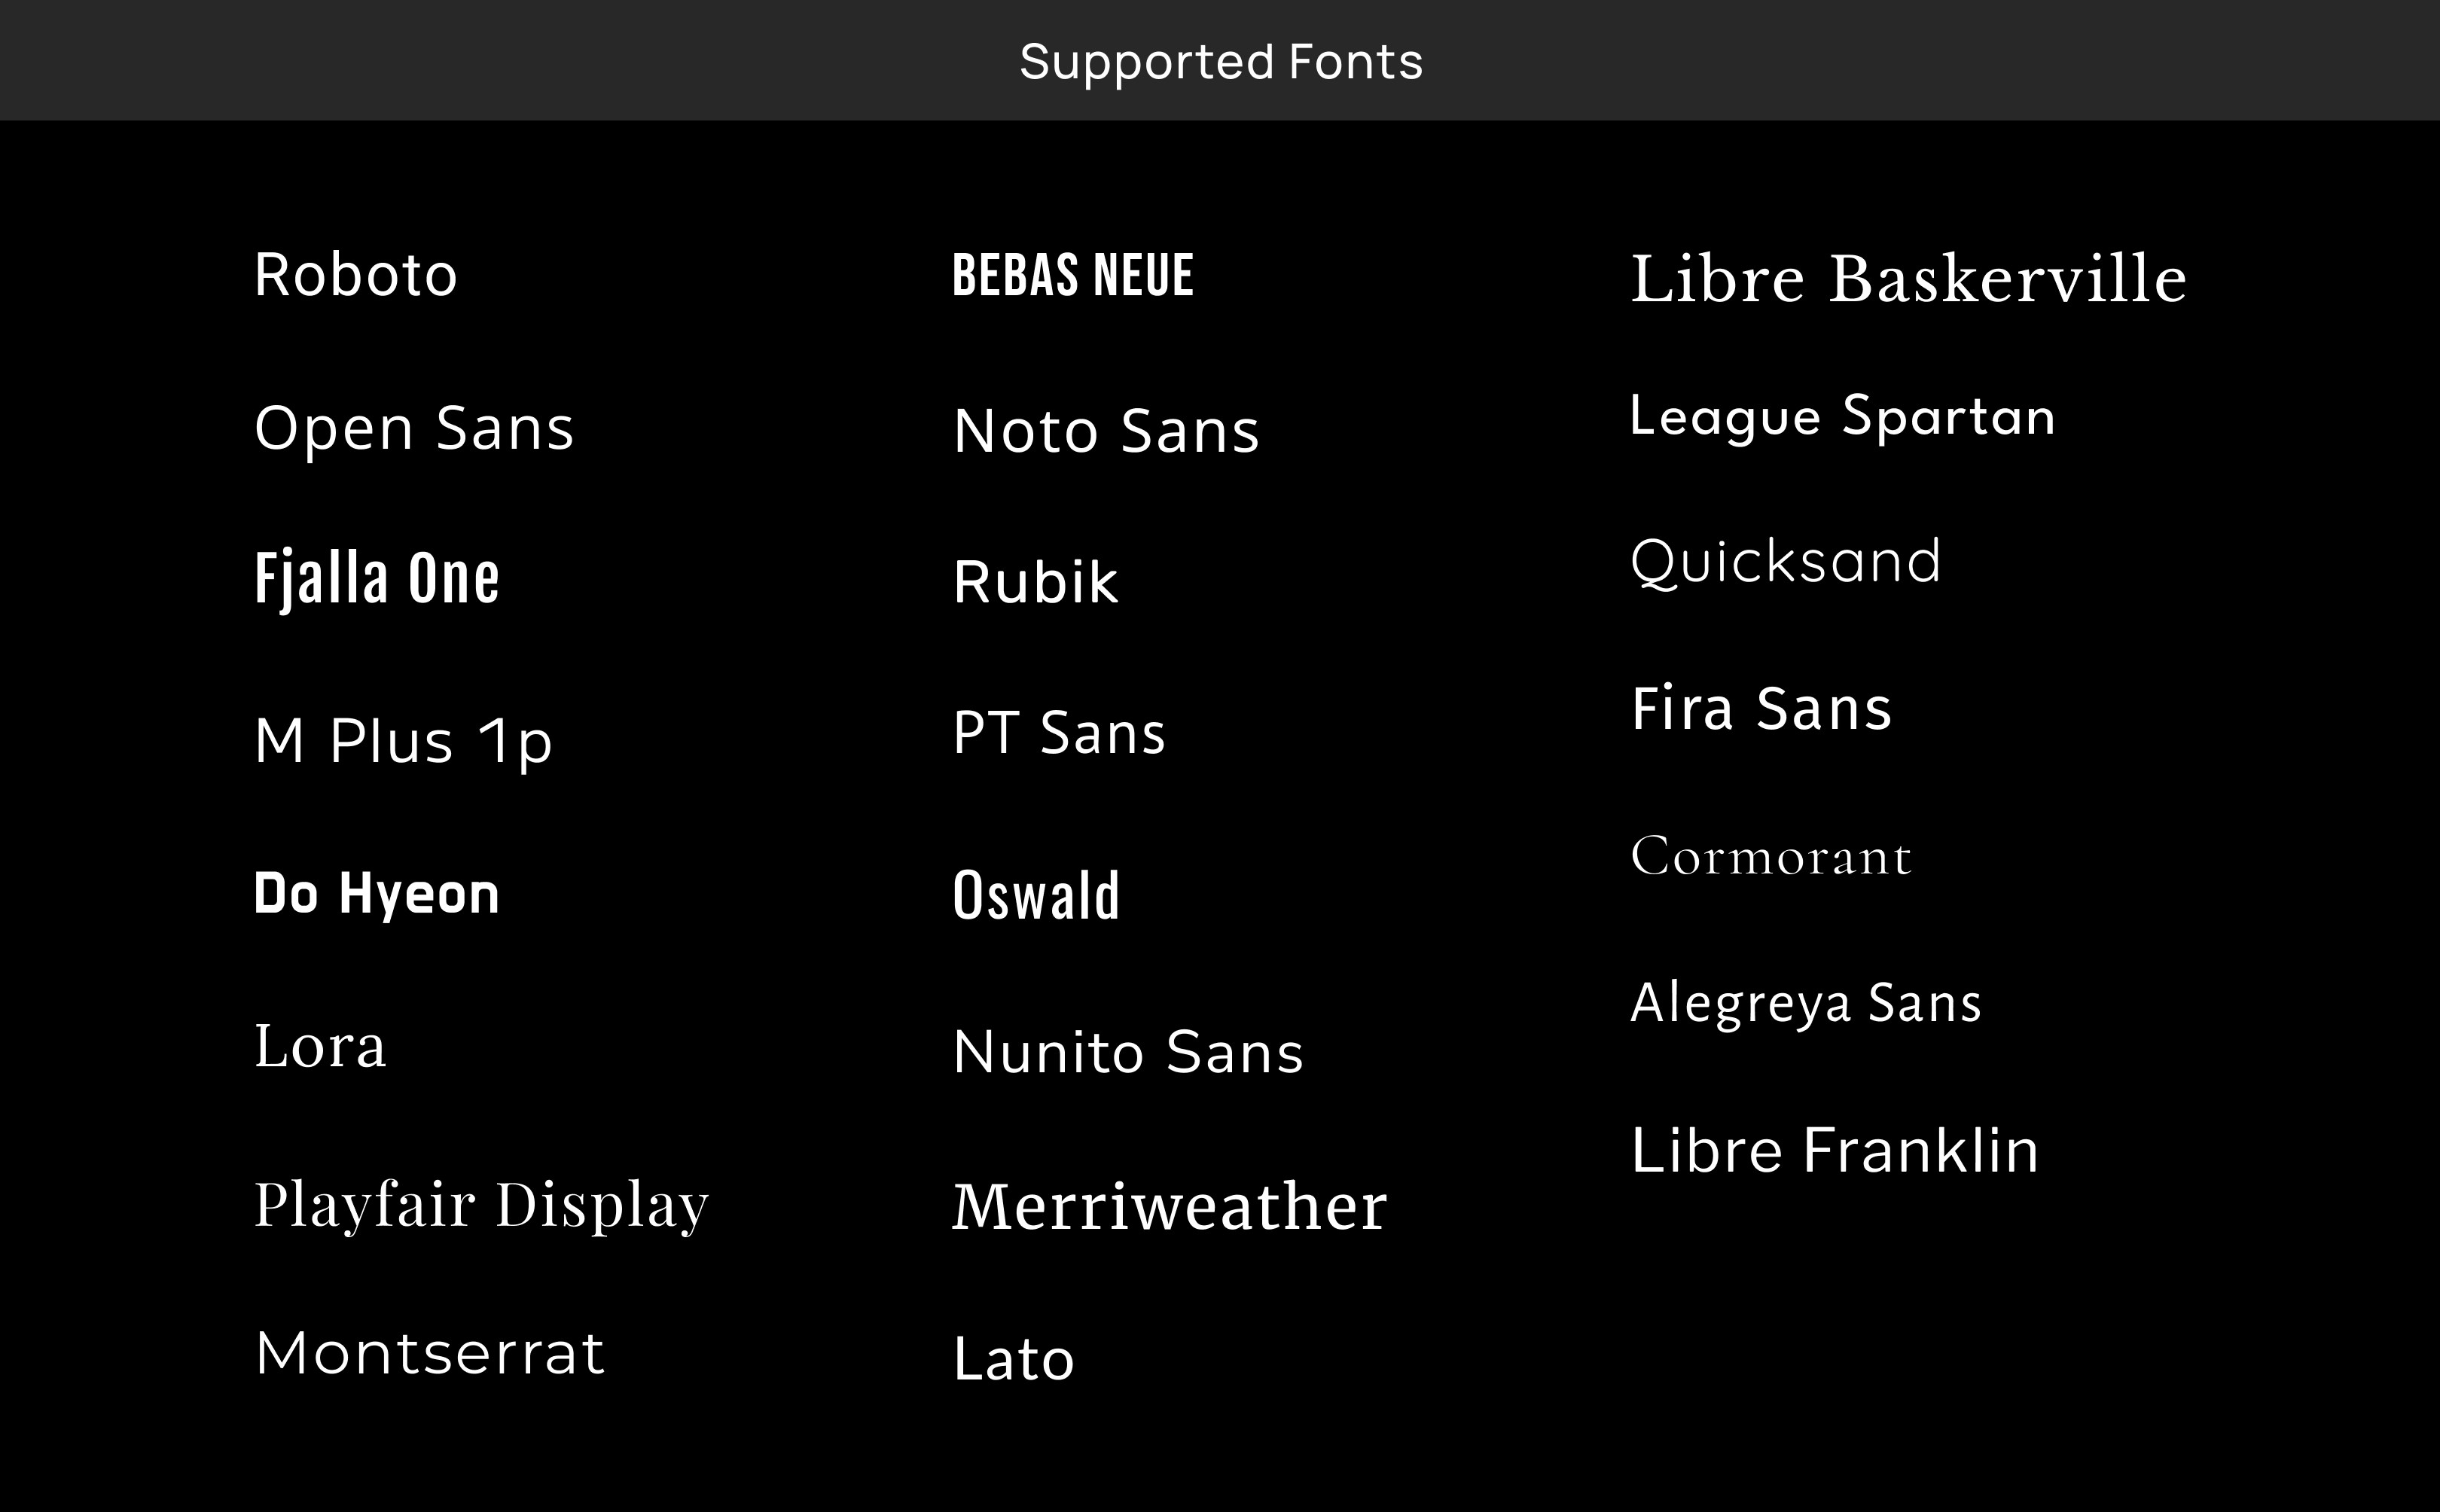
| name | str | Font family name (must be available on server) |
### `Positioning`
Controls where on the screen your captions appear and how much spacing you want from the edges. You can place captions at the bottom like traditional subtitles, or anywhere else on screen with precise margin control.
```python Python theme={null}
Positioning(
alignment=CaptionAlignment.bottom_center,
margin_v=100, # Vertical margin in pixels
margin_l=20, # Left margin in pixels
margin_r=20 # Right margin in pixels
)
```
```javascript Node.js theme={null}
import { Positioning, CaptionAlignment } from 'videodb';
new Positioning({
alignment: CaptionAlignment.bottomCenter,
marginV: 100, // Vertical margin in pixels
marginL: 20, // Left margin in pixels
marginR: 20 // Right margin in pixels
});
```
| Parameter | Type | Description |
| :-------- | :--------------- | :---------------------------------------------------------------- |
| alignment | CaptionAlignment | Where on screen the captions appear (see alignment options below) |
| margin\_v | int | Vertical margin in pixels from top or bottom edge |
| margin\_l | int | Left margin in pixels from left edge |
| margin\_r | int | Right margin in pixels from right edge |
```python Python theme={null}
# Corners
CaptionAlignment.top_left
CaptionAlignment.top_right
CaptionAlignment.bottom_left
CaptionAlignment.bottom_right
# Edges
CaptionAlignment.top
CaptionAlignment.top_center
CaptionAlignment.bottom
CaptionAlignment.left
CaptionAlignment.right
# Center positions
CaptionAlignment.middle_center
CaptionAlignment.bottom_center
```
```javascript Node.js theme={null}
// Corners
CaptionAlignment.topLeft
CaptionAlignment.topRight
CaptionAlignment.bottomLeft
CaptionAlignment.bottomRight
// Edges
CaptionAlignment.top
CaptionAlignment.topCenter
CaptionAlignment.bottom
CaptionAlignment.left
CaptionAlignment.right
// Center positions
CaptionAlignment.middleCenter
CaptionAlignment.bottomCenter
```
Example:
```python Python theme={null}
position=Positioning(
alignment=CaptionAlignment.bottom_center,
margin_v=50 # 50px from bottom
),
font=FontStyling(
size=48,
bold=True,
name = "Clear Sans",
)
```
```javascript Node.js theme={null}
position: new Positioning({
alignment: CaptionAlignment.bottomCenter,
marginV: 50 // 50px from bottom
}),
font: new FontStyling({
size: 48,
bold: true,
name: "Clear Sans"
})
```
### `BorderAndShadow`
Controls outlines and shadows that make your text readable over any background.
These parameters are crucial because subtitles need to be legible whether they're over bright skies, dark scenes, or complex imagery - borders and shadows ensure the text always stands out.
```python Python theme={null}
from videodb.editor import BorderAndShadow, CaptionBorderStyle
BorderAndShadow(
style=CaptionBorderStyle.outline_and_shadow,
outline=3.0, # Outline width in pixels
shadow=2.0, # Shadow depth in pixels
outline_color="&H00000000", # Black outline (ASS format)
shadow_color="&H80000000" # Semi-transparent black shadow
)
```
```javascript Node.js theme={null}
import { BorderAndShadow, CaptionBorderStyle } from 'videodb';
new BorderAndShadow({
style: CaptionBorderStyle.outlineAndShadow,
outline: 3.0, // Outline width in pixels
shadow: 2.0, // Shadow depth in pixels
outlineColor: "&H00000000", // Black outline (ASS format)
shadowColor: "&H80000000" // Semi-transparent black shadow
});
```
| Parameter | Type | Description |
| :------------- | :----------------- | :-------------------------------------------- |
| style | CaptionBorderStyle | How the border/background is rendered |
| outline | float | Outline width in pixels around each letter |
| shadow | float | Shadow depth in pixels for drop shadow effect |
| outline\_color | str | Outline color in ASS format |
| shadow\_color | str | Shadow color in ASS format |
`CaptionBorderStyle` Options:
* `CaptionBorderStyle.outline_and_shadow` - Outline + drop shadow
* `CaptionBorderStyle.opaque_box` - Solid background box
Example:
```python Python theme={null}
border=BorderAndShadow(
style=CaptionBorderStyle.outline_and_shadow,
outline=5,
outline_color="&H00000000", # Black outline
shadow=3
)
```
```javascript Node.js theme={null}
border: new BorderAndShadow({
style: CaptionBorderStyle.outlineAndShadow,
outline: 5,
outlineColor: "&H00000000", // Black outline
shadow: 3
})
```
## Complete Example
From the notebook, here's a complete `CaptionAsset` with all styling parameters:
```python Python theme={null}
from videodb.editor import CaptionAsset, CaptionAnimation, Positioning, CaptionAlignment, FontStyling, BorderAndShadow
caption_asset = CaptionAsset(
src="auto",
animation=CaptionAnimation.supersize,
primary_color="&H00FFFFFF", # White text
secondary_color="&H0000FFFF", # Yellow highlight for animations
position=Positioning(
alignment=CaptionAlignment.middle_center,
margin_v=100
),
font=FontStyling(
size=44,
bold=True
)
)
caption_clip = Clip(
asset=caption_asset,
duration=100
)
```
```javascript Node.js theme={null}
import { CaptionAsset, CaptionAnimation, Positioning, CaptionAlignment, FontStyling, Clip } from 'videodb';
const captionAsset = new CaptionAsset({
src: "auto",
animation: CaptionAnimation.supersize,
primaryColor: "&H00FFFFFF", // White text
secondaryColor: "&H0000FFFF", // Yellow highlight for animations
position: new Positioning({
alignment: CaptionAlignment.middleCenter,
marginV: 100
}),
font: new FontStyling({
size: 44,
bold: true
})
});
const captionClip = new Clip({
asset: captionAsset,
duration: 100
});
```
## Parameter Reference
| Parameter | Type | Description |
| :------------------ | :--------------- | :--------------------------------------------------------------------------------------------------------------- |
| src | str | Set to `"auto"` for auto-generation from speech or add manually in `.srt` or `.ass` format converted to `base64` |
| animation | CaptionAnimation | Animation mode: `reveal`, `karaoke`, `supersize`, `box_highlight`, `impact`, `color_highlight` |
| primary\_color | str | Main text color (ASS format: `&H00BBGGRR`) |
| secondary\_color | str | Highlight color for animations (ASS format) |
| position | Positioning | Spatial placement and margins |
| font | FontStyling | Typography settings |
| border\_and\_shadow | BorderAndShadow | Outline and shadow styling |
## Next Steps
Hands-on experimentation with styling options, animations, and color formatting.
 ### `Positioning`
Controls where on the screen your captions appear and how much spacing you want from the edges. You can place captions at the bottom like traditional subtitles, or anywhere else on screen with precise margin control.
### `Positioning`
Controls where on the screen your captions appear and how much spacing you want from the edges. You can place captions at the bottom like traditional subtitles, or anywhere else on screen with precise margin control.